AI学习笔记(01)--环境安装
硬件准备
- CPU: 10900T
- 内存: DDR4 48G
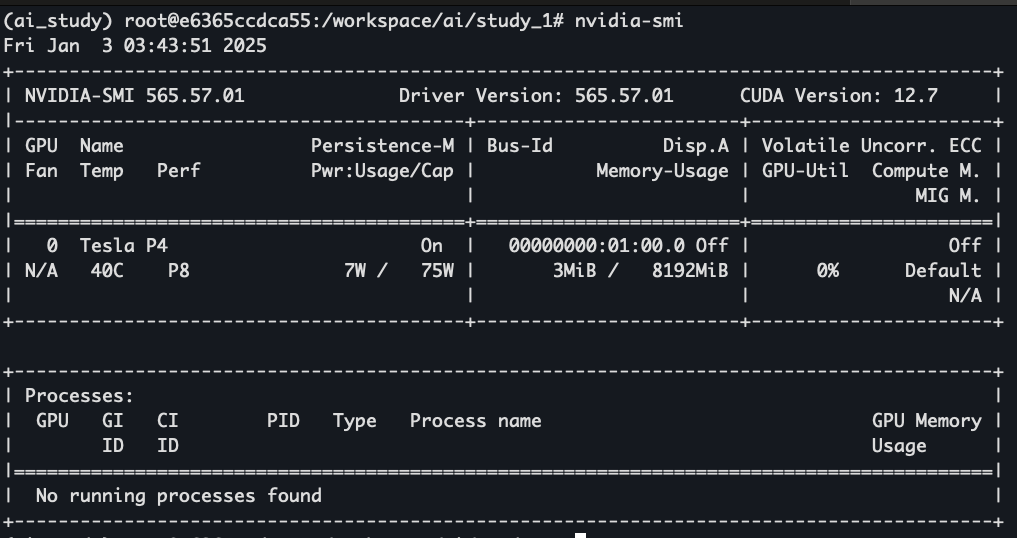
- GPU: NVIDIA T4(8G)
环境安装
我是在Linux 环境下,使用Docker作为环境
镜像使用的是自己写的一个,里面安装集成好了CUDA和conda
# 使用官方的 CUDA 基础镜像
FROM nvidia/cuda:12.6.3-cudnn-devel-ubuntu22.04

# 设置环境变量为中文
ENV LANG=zh_CN.UTF-8
ENV LC_ALL=zh_CN.UTF-8

# 更新系统并安装必要的软件包
RUN apt-get update && apt-get install -y \
    locales \
    ssh \
    wget \
    bzip2 curl git vim openssh-server\
    && apt-get clean \
    && rm -rf /var/lib/apt/lists/*

# 生成 locales
RUN locale-gen zh_CN.UTF-8

# 安装 Miniconda
RUN wget https://repo.anaconda.com/miniconda/Miniconda3-latest-Linux-x86_64.sh -O /tmp/miniconda.sh && \
    bash /tmp/miniconda.sh -b -p /opt/conda && \
    rm /tmp/miniconda.sh
RUN echo "channels:\n  - defaults\nshow_channel_urls: true\ndefault_channels:\n  - https://mirrors.tuna.tsinghua.edu.cn/anaconda/pkgs/main\n  - https://mirrors.tuna.tsinghua.edu.cn/anaconda/pkgs/r\n  - https://mirrors.tuna.tsinghua.edu.cn/anaconda/pkgs/msys2\ncustom_channels:\n  conda-forge: https://mirrors.tuna.tsinghua.edu.cn/anaconda/cloud\n  pytorch: https://mirrors.tuna.tsinghua.edu.cn/anaconda/cloud" > /root/.condarc

# 设置 Conda 路径
ENV PATH=/opt/conda/bin:$PATH

# 镜像设置
RUN conda clean -i -y
RUN python -m pip install --upgrade pip && pip config set global.index-url https://mirrors.tuna.tsinghua.edu.cn/pypi/web/simple
RUN conda init bash

# 启用 SSH 服务
RUN mkdir /var/run/sshd
RUN echo 'root:root1234' | chpasswd  # 设置 SSH 密码

RUN

# 允许 SSH 登录
RUN sed -i 's/#PermitRootLogin prohibit-password/PermitRootLogin yes/' /etc/ssh/sshd_config
RUN sed -i 's/#PasswordAuthentication yes/PasswordAuthentication yes/' /etc/ssh/sshd_config

EXPOSE 22


# 设置工作目录
WORKDIR /workspace

# 启动 SSH 服务
CMD ["/usr/sbin/sshd", "-D"]
启动镜像
docker run -it --gpus all --name=cuda_dev ccr.ccs.tencentyun.com/guiyunweb/cuda-dev bash

模式依赖
进入容器内容,进行依赖安装
docker exec -it cuda_dev bash
# 安装环境
conda create -n ai_study python=3.10
# 切换环境
conda activate ai_study
# 安装依赖
conda install numpy  matplotlib
这两个是将来会用到的两个依赖
numpy: 提供了强大的数组和矩阵操作,与 PyTorch 的张量操作兼容,常用于数据处理和转换。matplotlib: 可视化训练过程中的损失曲线、模型输出、数据分布等;
安装框架
AI的学习的框架打算使用 Pytorch,使用简单而且使用的人比较多
#框架安装
conda install pytorch torchvision torchaudio pytorch-cuda=12.4 -c pytorch -c nvidia
创建一个torch_version.py,写入如下文件
import torch
print(torch.__version__)
运行这个文件,打印pytorch的版本。看是否安装成功

版本号打印成功就代表pytorch版本安装好了
AI学习笔记(01)--环境安装
https://guiyunweb.com/archives/1735872515671